#CameraMemoryCards

Camera Icons Decoded: What Do All Those Symbols Really Mean?

If you've ever picked up a camera and felt overwhelmed by all the little icons on the screen or buttons on the body — you're not alone. Modern digital cameras are packed with features, and the icons used to represent them aren’t always self-explanatory, especially if you're just starting out or switching between brands.

In this blog, we’ll walk you through some of the most common camera icons and what they mean. Whether you’re shooting photos or video, understanding these symbols can help you take better control of your gear — and avoid costly mistakes (like accidentally shooting JPEG instead of RAW!).
Shooting Modes

Let’s start with shooting modes. This is where your creative control begins. If you see a letter "M" on your dial, that stands for Manual mode, you control everything: shutter speed, aperture, and ISO. It’s the most flexible mode and a favorite for experienced photographers.

If you’re still learning, though, "A" or "Av" is a great place to start. It lets you control aperture — that’s your f-stop — while the camera handles the rest. It’s perfect for portraits, when you want a nice blurry background. If you're trying to capture motion — say, wildlife or sports then switch to "S" or "Tv" mode, which gives you control over shutter speed. And if you just want the camera to do most of the work, "P" mode (Program) or even full "Auto" can be your friend. Every mode has its purpose, and once you know when to use each, everything starts to click.

These are usually found on your camera’s mode dial or touchscreen.

  • [M] Manual Mode:
    Full control — you set shutter speed, aperture, and ISO. Ideal for experienced users who want creative freedom.
  • [A] / [Av] Aperture Priority:
    You set the aperture (f-stop), and the camera adjusts the shutter speed. Great for portraits and blurred backgrounds.
  • [S] / [Tv] Shutter Priority:
    You set the shutter speed, the camera handles the aperture. Use this for action, sports, or motion effects.
  • [P] Program Auto:
    The camera sets both shutter and aperture, but you can still tweak ISO and exposure. A good step up from full auto.
  • [Auto]:
    The camera does everything. Best for absolute beginners or quick snapshots.

White Balance & Color Temperature

Then there’s white balance — often represented by icons like a sun, cloud, or light bulb. These settings help your camera interpret color depending on the lighting environment. For example, "Daylight" mode is great for shooting under natural sun, while "Cloudy" adds warmth to overcast scenes. "Tungsten" and "Fluorescent" help correct unnatural indoor lighting. If you want full control, you might see something like a “K” — that stands for Kelvin temperature, and it lets you fine-tune color tone manually. It’s a pro move, but once you try it, it’s hard to go back.

These icons adjust how colors appear in your photo depending on lighting conditions.

  • Daylight:Neutral tone for shooting under the sun.
  • Cloudy:Warmer tones to offset cool, overcast light.
  • Tungsten:Reduces orange-yellow indoor lighting.
  • Fluorescent: Adjusts for greenish indoor lighting.
  • Custom / K:Set color temperature manually (Kelvin scale) for consistent, pro-level control.

Focus Modes

Focus modes are another important set of icons to understand. You might see options like AF-S (Single Shot autofocus) or AF-C (Continuous autofocus). Single Shot is perfect when your subject isn’t moving — think product photos or landscapes. Continuous is better for action, because the camera will keep tracking focus as your subject moves. Some newer cameras even feature Eye or Face Detection autofocus, these are game-changers for portraits, as the camera locks onto your subject’s eyes automatically for perfect sharpness. Manual Focus (MF) is also an option, especially useful for macro or night photography when the autofocus may struggle.

ISO & Low-Light Indicators

The ISO setting controls how sensitive your camera’s sensor is to light. You’ll see this as numbers like 100, 400, 1600, etc. Lower numbers give you cleaner images with less digital noise, but they need more light. Higher ISOs help in low-light situations, but introduce grain. Some cameras even flash a moon icon or a hand icon to warn you about camera shake — that’s your cue to either bump the ISO or use a tripod.

Image Format & Quality

  • RAW:
    Best image quality, more data for editing. Icon may show “RAW” or a stylized camera chip.
  • JPEG / JPG:
    Compressed files, easy to share but limited in editing.
  • RAW + JPEG:
    Shoots both at once — good for backup or quick sharing.

One of the most critical icons you’ll see is for image format. Many cameras let you choose between shooting in RAW, JPEG, or both. RAW gives you the highest quality and most data to work with in editing — it’s what most professionals use. JPEG is compressed and easier to share, but it sacrifices flexibility. If you’re not sure, you can shoot both formats together — that way, you get fast previews and still have the full RAWs for editing. Just remember: RAW files are large. If you’re shooting high-resolution RAWs or 4K video, make sure your memory card is fast enough to handle the data. A slow card can cause buffering, recording delays, or even lost shots.

Video Settings Icons

That brings us to video. If you see icons like “4K,” “60fps,” or “8K,” those refer to resolution and frame rate. 24 frames per second gives you that classic cinematic look, 60fps is great for smooth action, and 120fps is perfect for slow motion. Your mic icon tells you whether an external microphone is connected, and that blinking red dot — that’s the universal sign you’re recording .

Finally, don’t ignore the warning icons. A low battery icon means your shoot could end any minute. A flashing memory card icon might mean the card is full, locked, or there’s an error. Some cameras even warn you about overheating — especially if you’re shooting long 4K clips. All of these alerts are there to keep you from losing your work.

Final Thoughts

At the end of the day, every one of these symbols — from the shutter mode to the ISO meter — is there to help you create better images and video. They're shortcuts to understanding what's going on inside your camera. And once you learn to speak that visual language, everything gets faster, smoother, and a lot more fun.

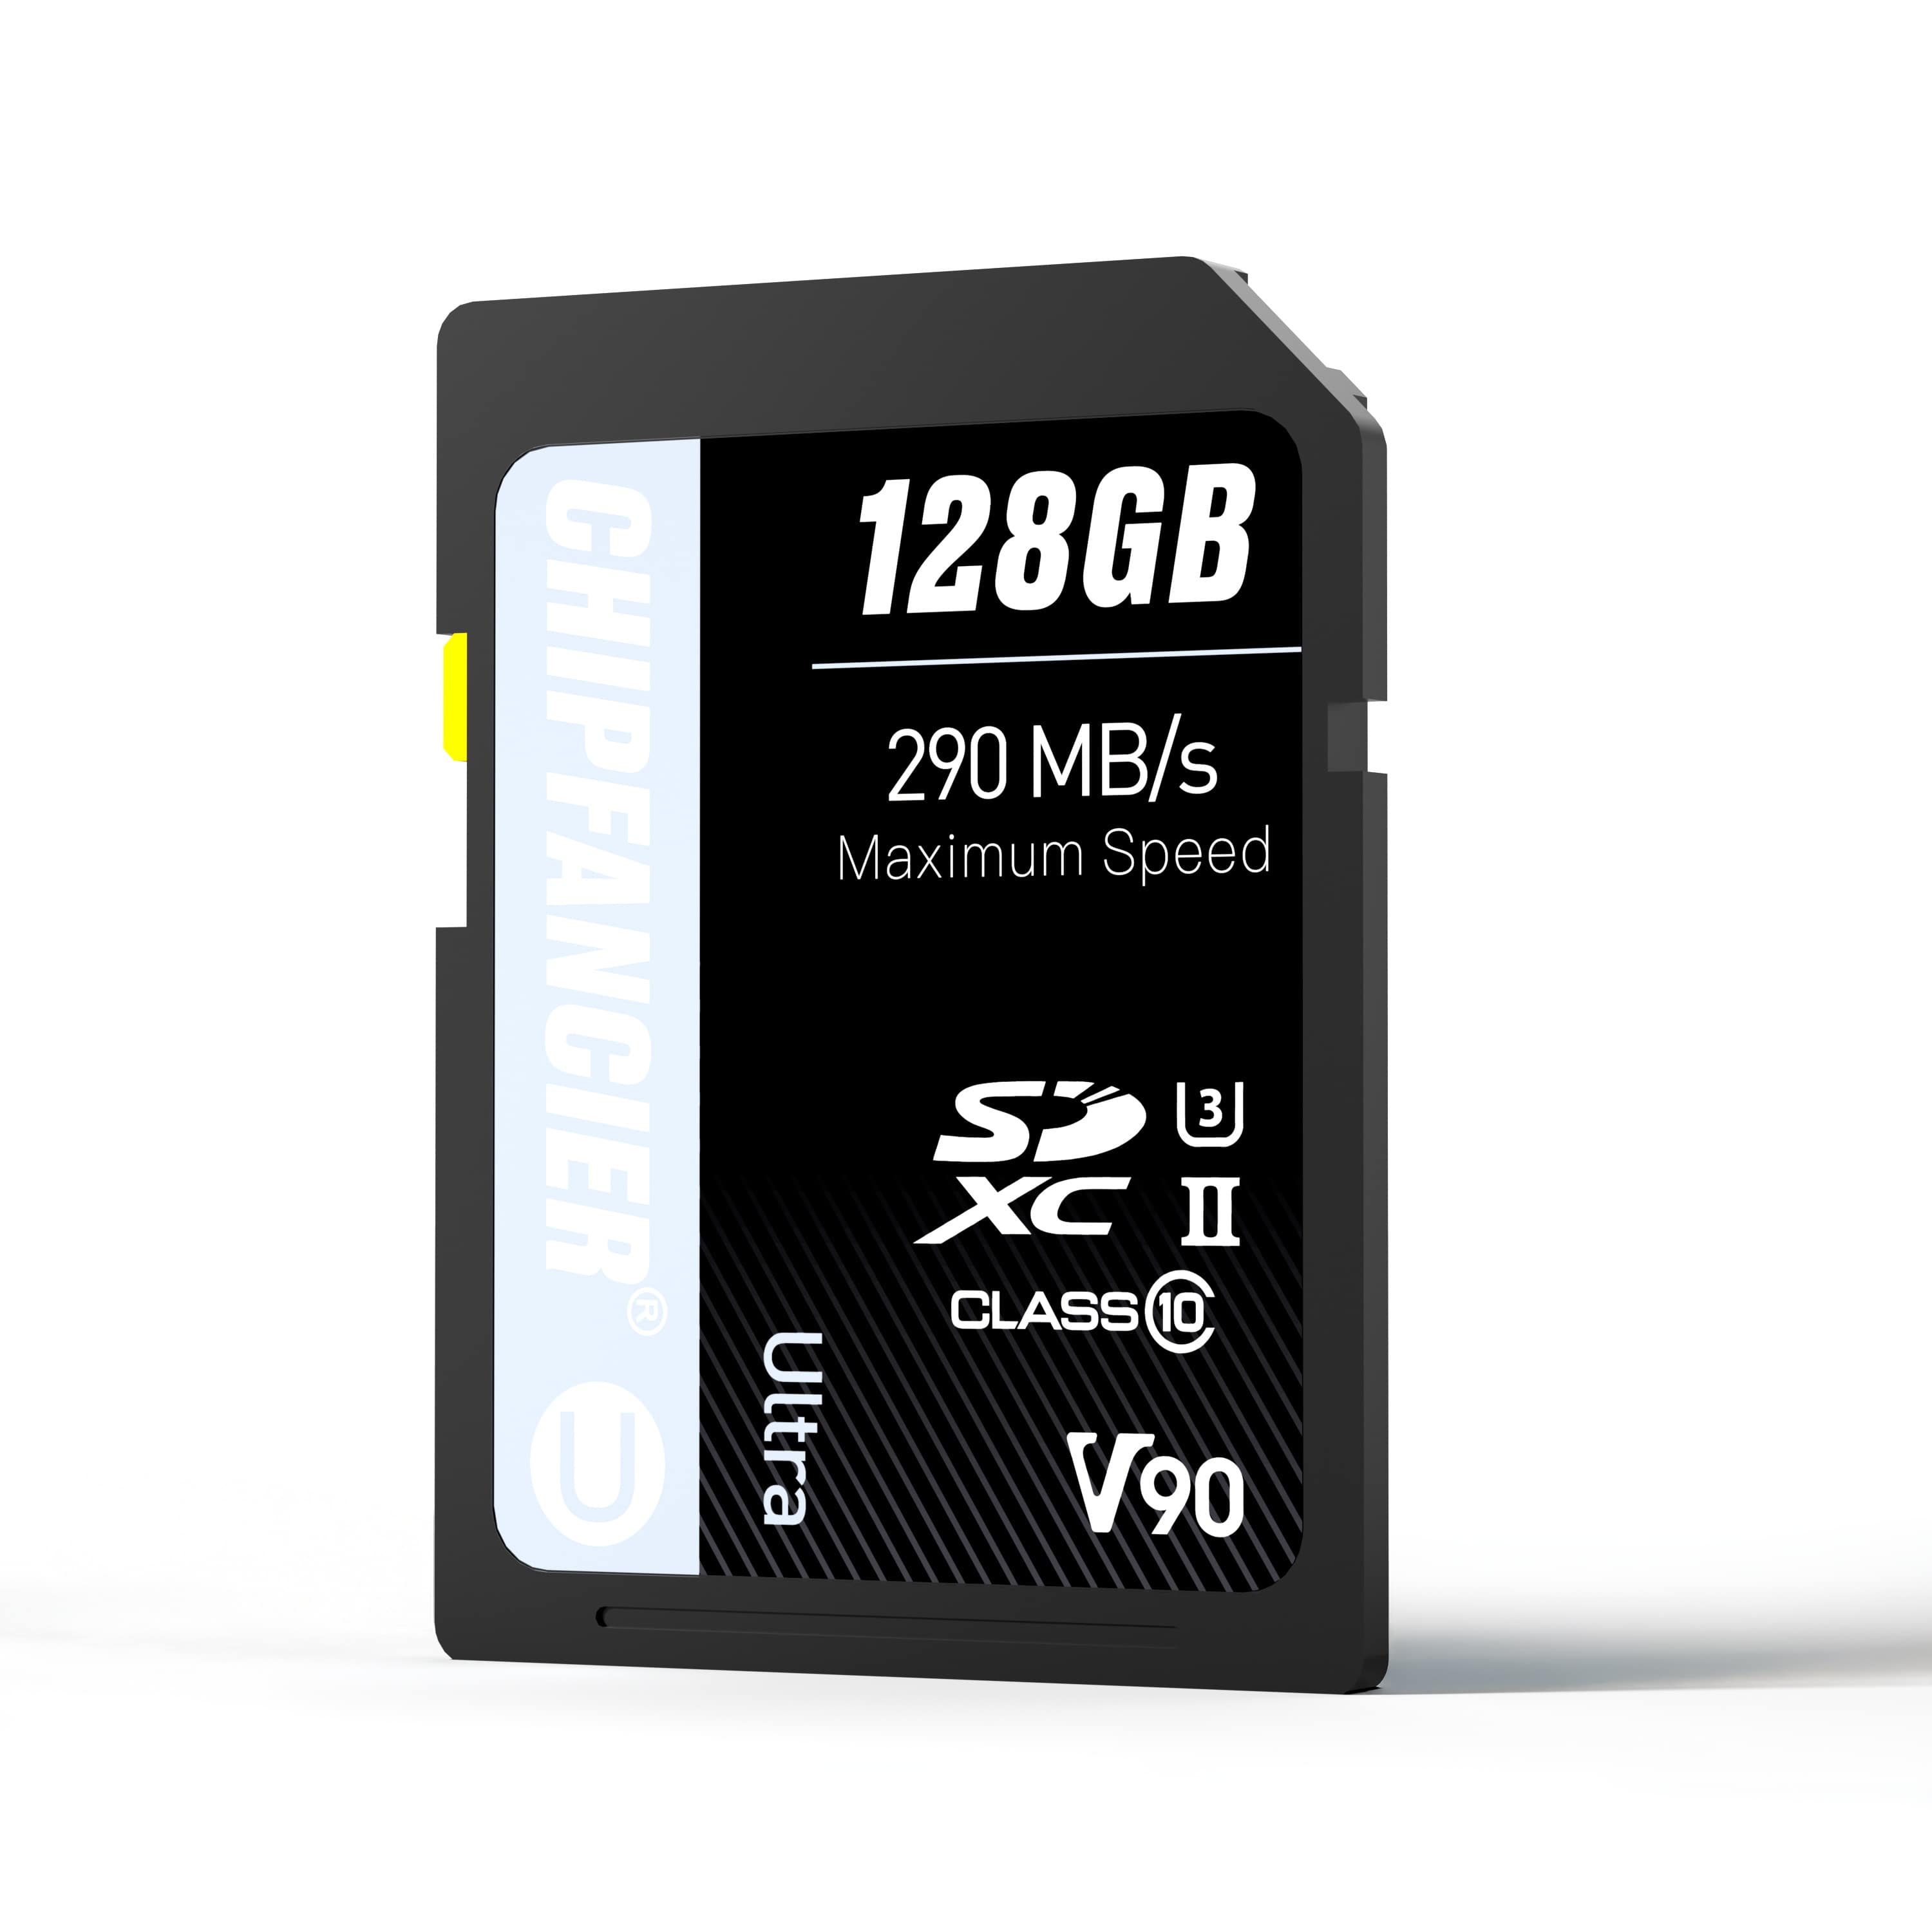
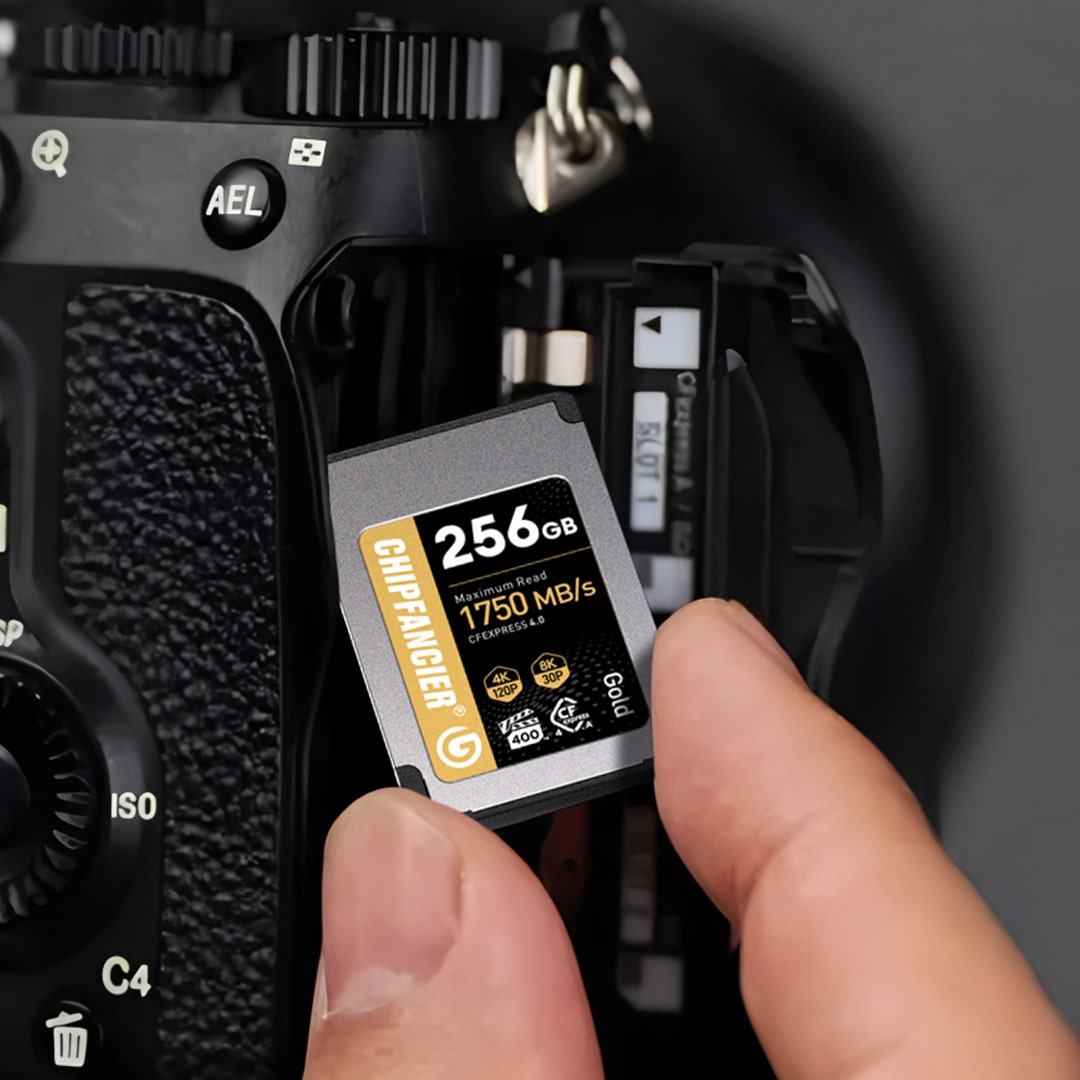
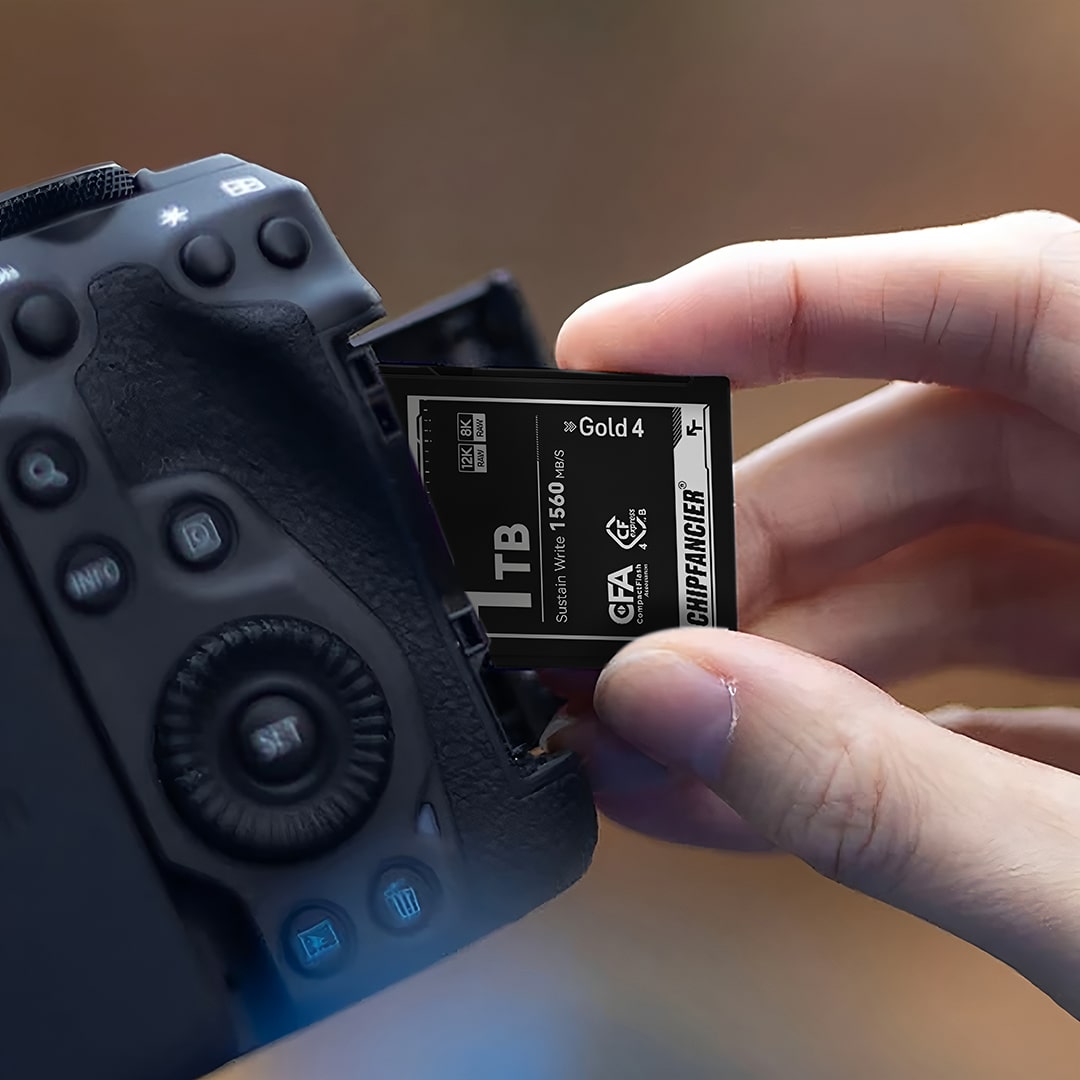
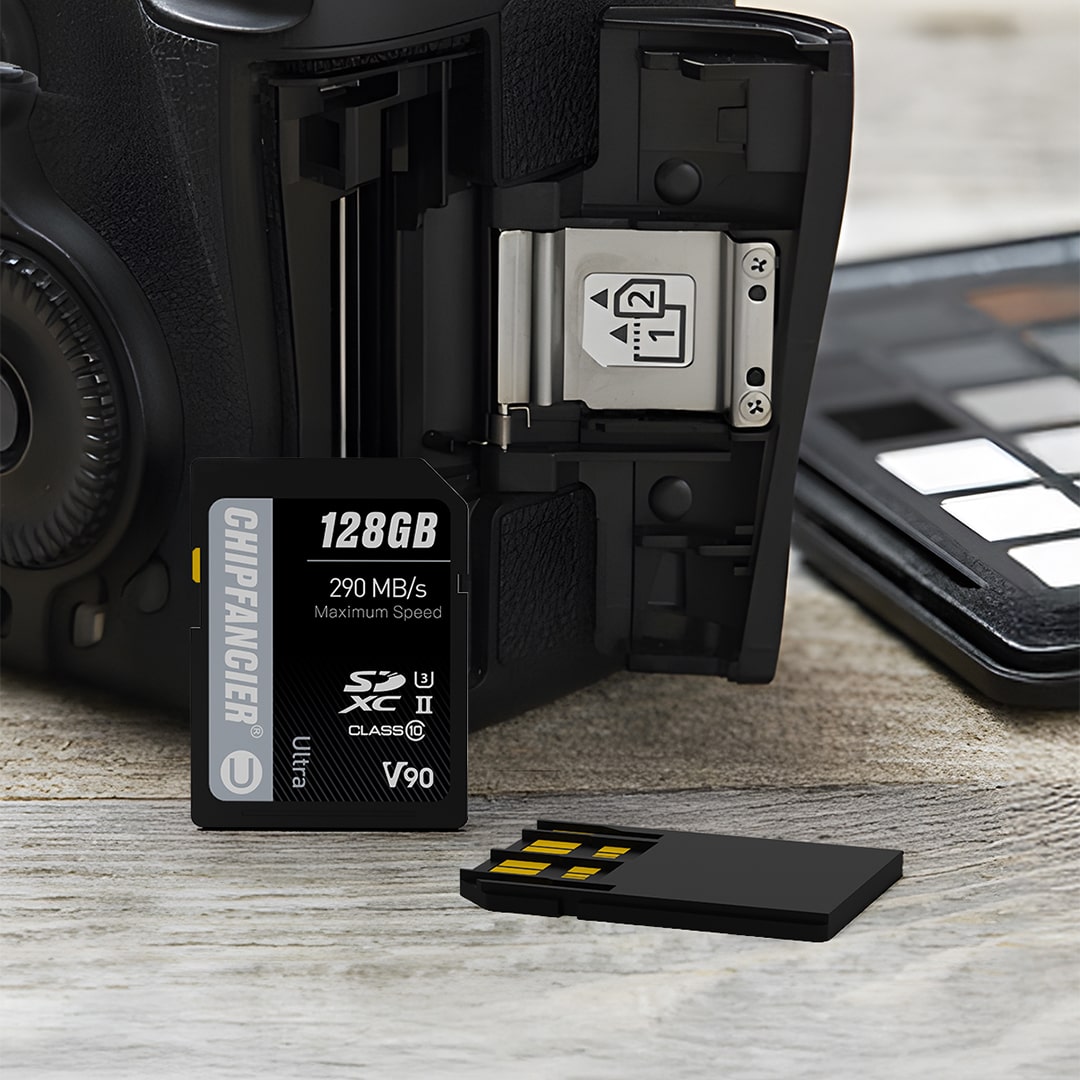
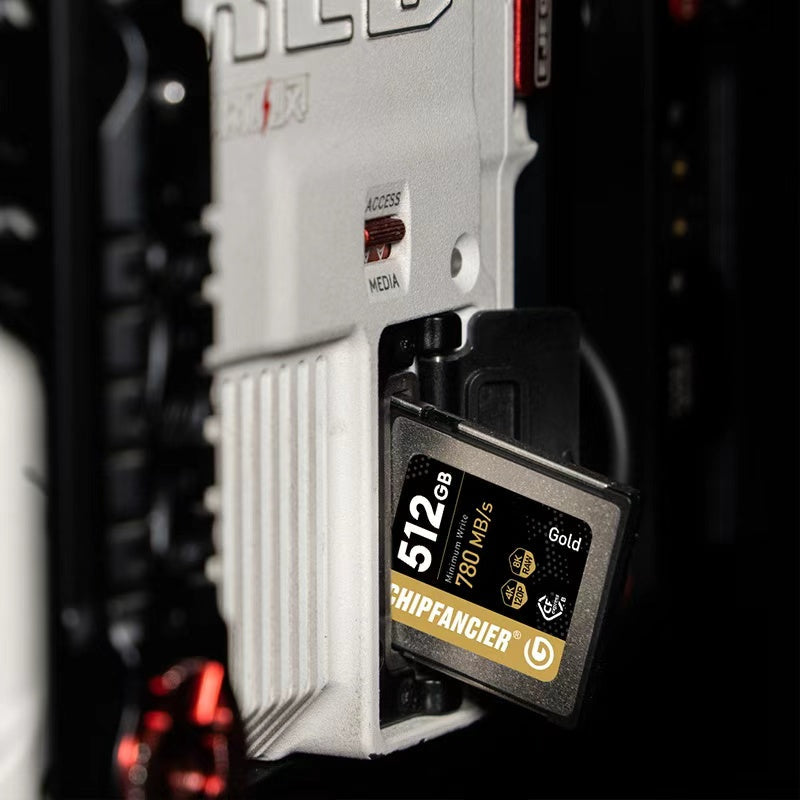
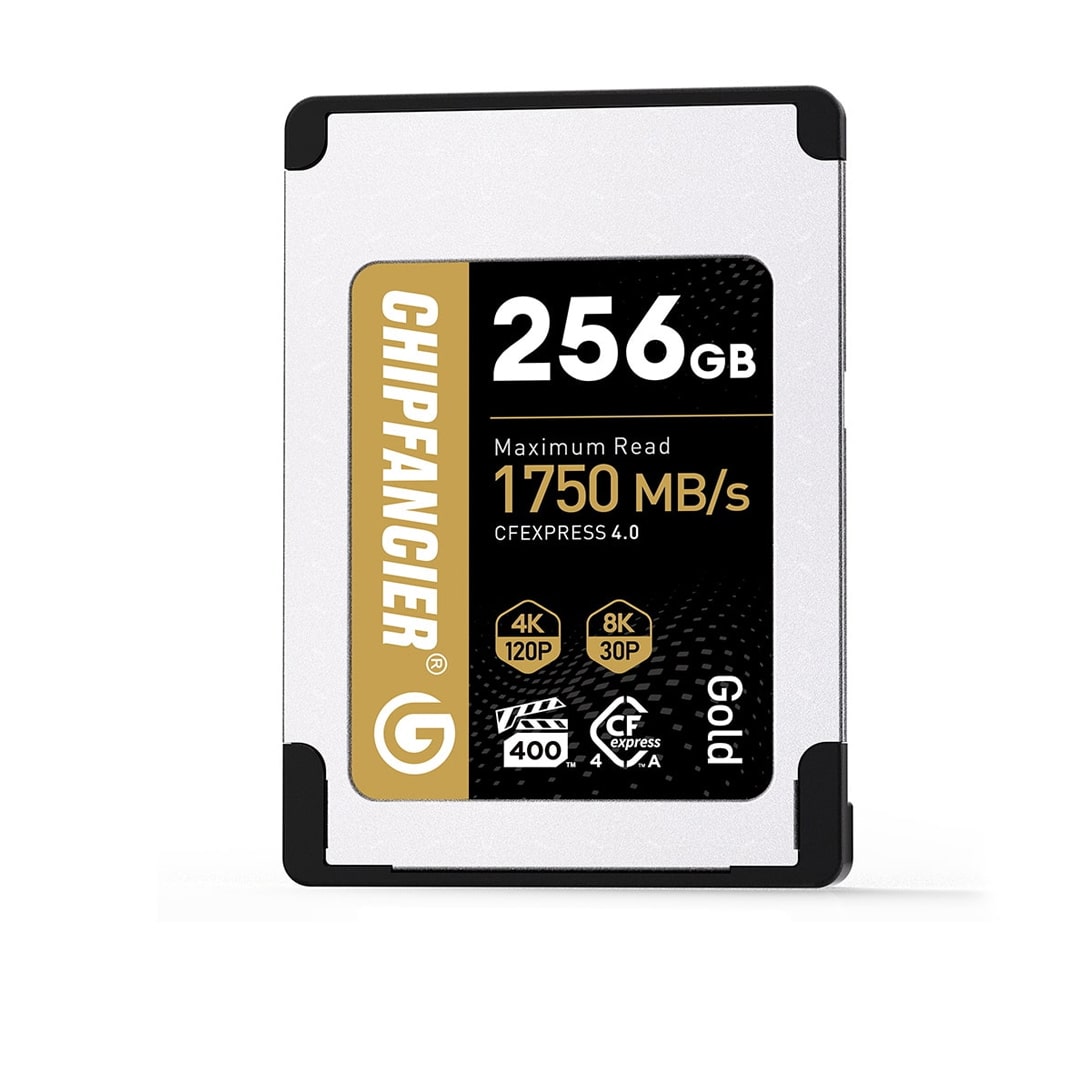
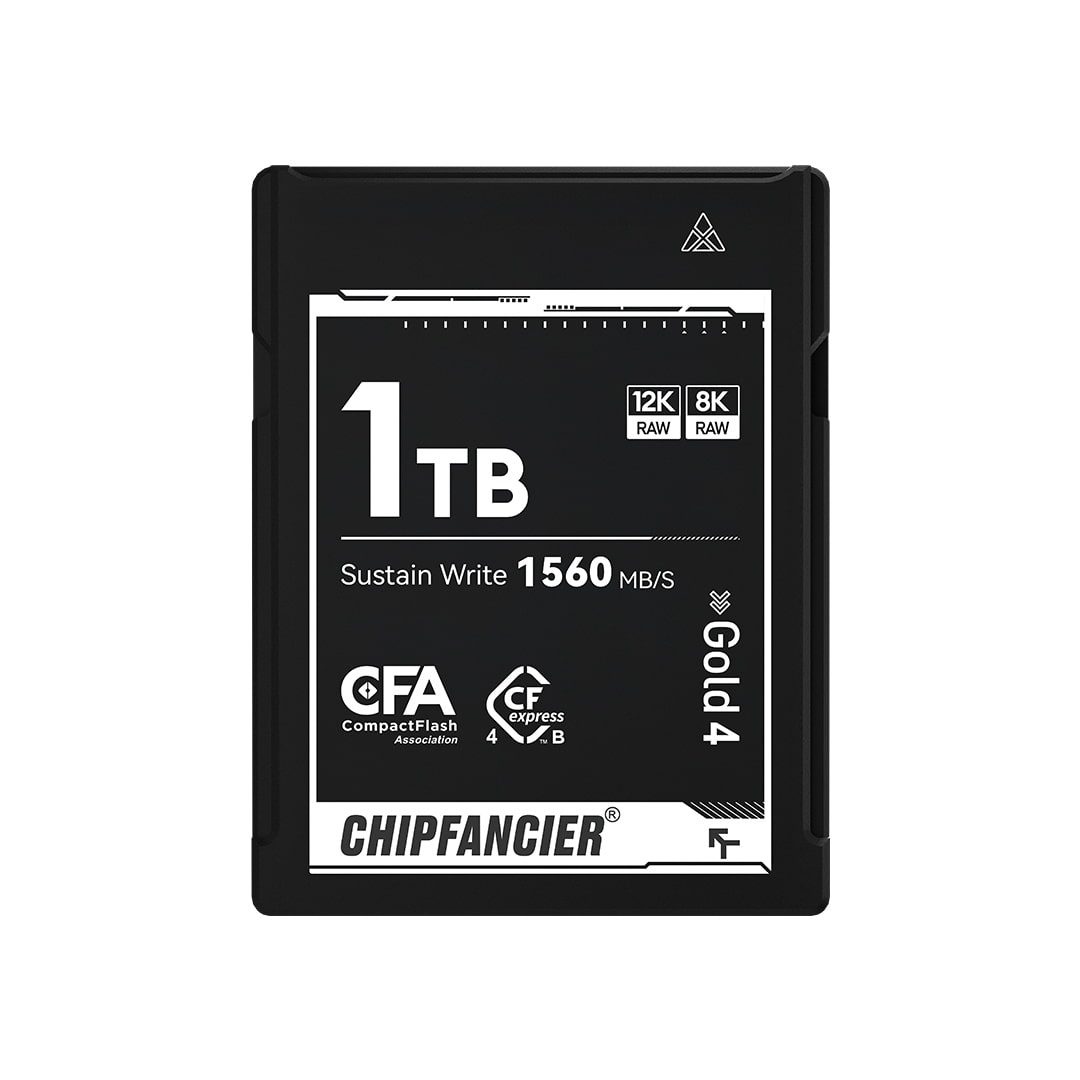
And here’s one last tip from a photographer who’s lost files in the field and learned the hard way: always invest in a fast, reliable memory card. Whether you’re shooting RAW, filming in 4K, or using burst mode to capture wildlife, your card needs to keep up. At Chipfancier, we build high-speed CFexpress and V90 SD cards — the kind of memory you can trust when the moment matters most.

Because when you're out there chasing light, the last thing you want is your storage slowing you down.